Trebuchet
Intoduction
In 2005 I had the opportunity to build a small version of a trebuchet
(German: Tribok or Blide). It is a medieval siege engine - perhaps better
known from current computer strategy games. The base principle is the
leverage effect: trow a rock several meters by using a weight multiple
times heavier than the rock itself. The origin model was approximately 18 m
tall and weighted 30 tons. With such a trebuchet our ancestors were able to
destroy a roof or a wall at least 300 m away. Not a child's toy.
A fascinating principle. That's why I decided to build such a thing
myself. It took longer than I thought...
Step 1: Construction
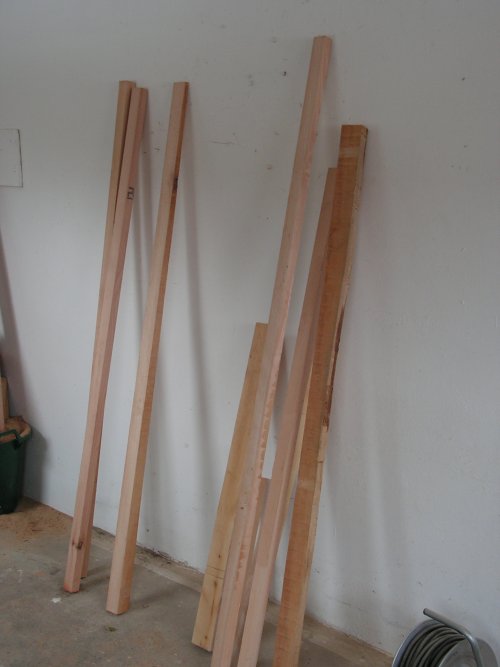
It started with a pile of wood strips (burning wood for free from a
local carpenter) and unfortunately no plan at all (a mistake). Just to try
something out.
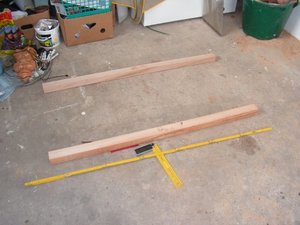 |
Basic set-up:
Two wood strips parallel aligned.
|
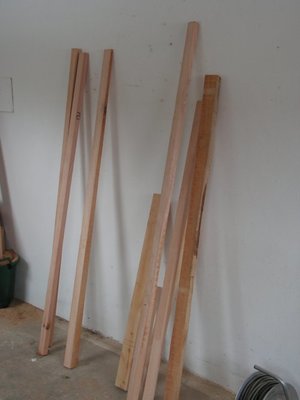 |
More wood.
|
 |
These strips build the trebuchet base, namely the
leverage arm, the weight, and the projectile. Furthermore,
it must withstand the forces during the throwing.
|
 |
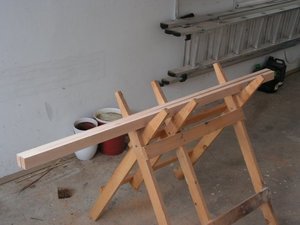
Construction of the supporting pillars.
|
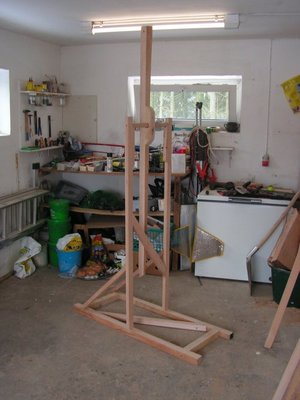 |
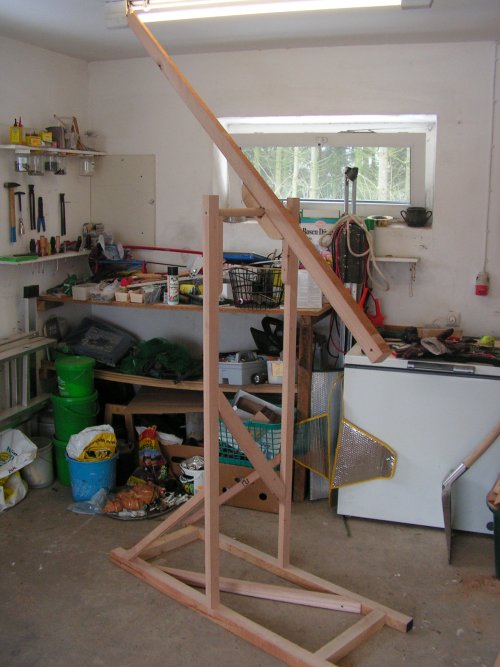
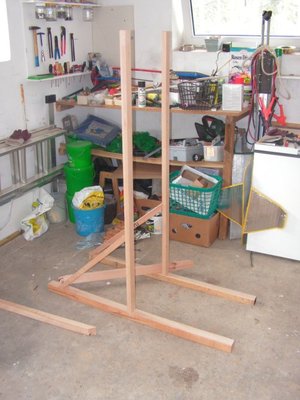
A wooden axis between the supporting pillars carry the lever. The frame is almost finished.
|
 |
Same frame, other view. Apologies for the mess in the workshop.
|
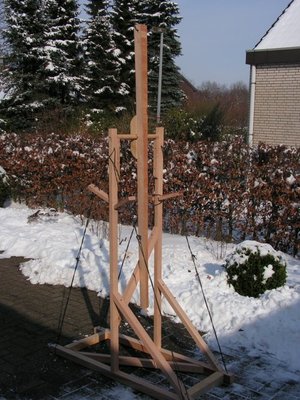 |
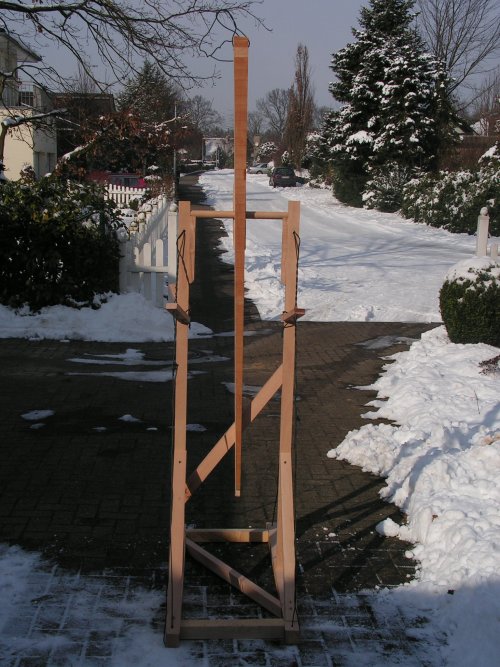
First version of the trebuchet. Further wires were necessary to strengthen the trebuchet.
|
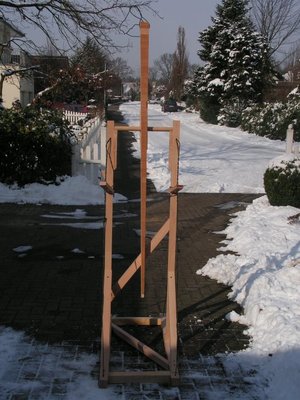 |
Same view from the front.
|
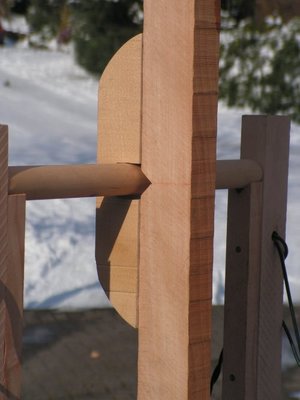 |
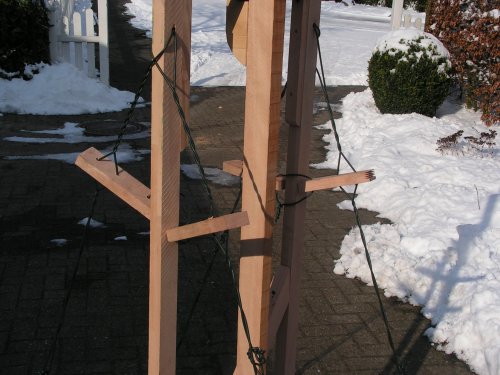
A more detailed view of the leverage arm. Two screws keep the lever arm in place.
|
 |
Hook of the lever arm:
The first idea was to connect the projectile with a loop
and attach it to the hook. The design was not optimal, as
it turned out later.
|
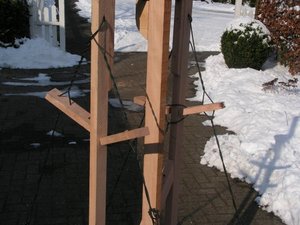 |
The wires needed to be tensioned.
|
Step 2: Optimization
Before the optimization:
Up to this point I did some mistakes. Specifically, I did the internet
research after the first construction phase. I revealed some optimization
approaches to increase the distance range.
I am a bit proud that the trebuchet works at all. A tennis ball (50 g)
is thrown 20 m by using a 5 kg weight which pulls the lever arm. But
compared to the frame size this doesn't seem that much.
A few points which help to improve the trebuchet: a board is missing
which guides the cradle with the projectile into the air. The leverage
effect can be also stressed more by mounting the lever arm further to the
throwing side and using more weight. Currently, a thread loop holds the
projectile; the medieval siege engineers took it the other way round and
mounted the string with a cradle directly to the lever arm, very similar to
a common sling. During the throwing procedure, the string is released and
shoots the projectile towards the target.
I also read about an increasing range by approx. 30 % by mounting wheels
to the frame. Also considering the portability of the trebuchet this seems
to be a worthy try.
Some time passes...
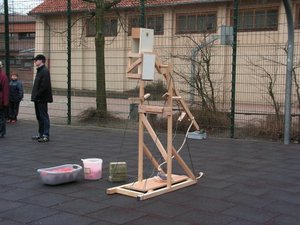
After the optimization:
Except for the wheels, I implemented all of the suggestions. Now it is
possible to throw water balloons at least 30 m away. You have to wrap at
least three balloons to build one projectile because of the Fliehkraft.
Because of the invitation of a local school to present the trebuchet, there
wasn't enough time left to apply the wheels. The string with the cradle
provided some difficulties because of twists in the air but keeping a bit
of space between the knots did the job.
Special care required the design of the weight box to pull the lever.
The overall weight was 30 kg which required a lot of screws to hold that
together. After the projectile is released, the weight box bumps into the
trebuchet frame (not optimal, see below).
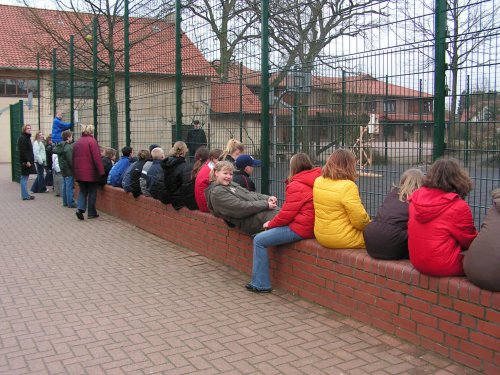
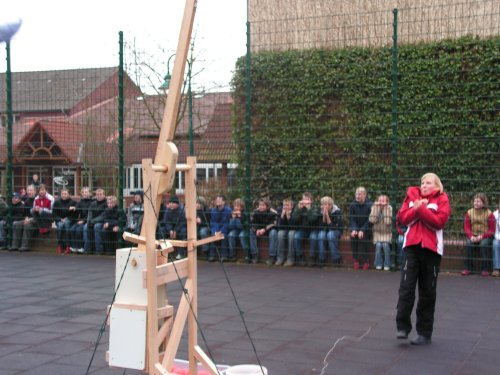
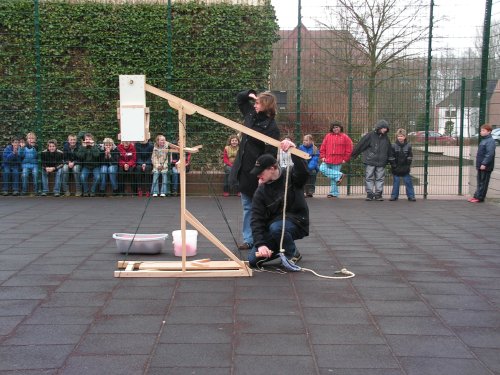
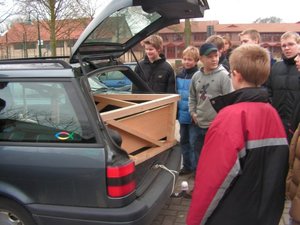
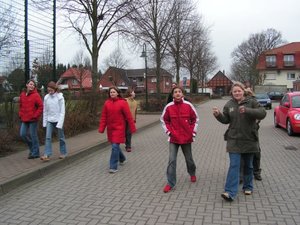
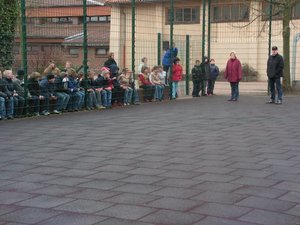
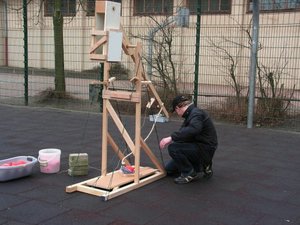
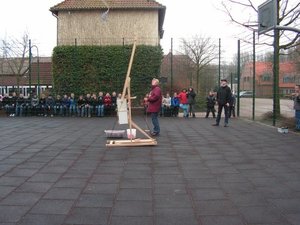
Step 3: At School
On 2005-03-17 I was given the opportunity to present the trebuchet at
the School of Goldenstedt, a small town in Germany. It took about two hours
on a fenced area to build up, explain the history and the thory, and -
finally - the demonstration for five classes in a row. The weather
conditions were a bit chilly but okay for this spring. Thanks to Mrs. von
Lehmden for taking the photos!
 |
The pupils of the class 6H provided much help.
|
 |
This is the weight box (without the stones, of course).
|
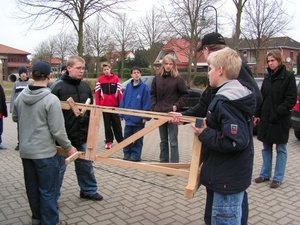 |
The frame...
|
 |
The water balloons...
|
 |
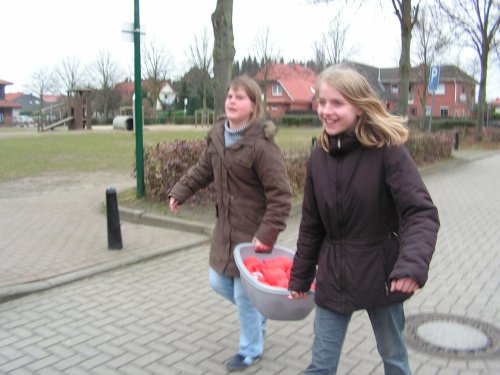
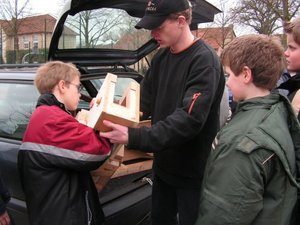
I didn't have enough parts for everybody to carry but at least they had fun.
|
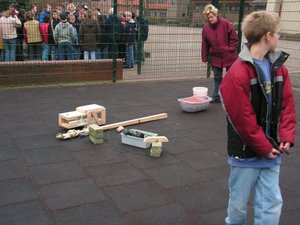 |
The components of the trebuchet, except the frame. Critically revised by a teacher..
|
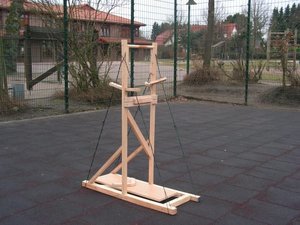 |
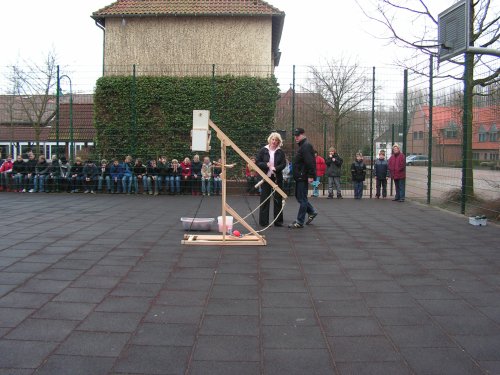
Here is the frame.
|
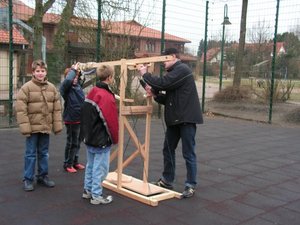 |
Mounting of the lever arm to the frame.
|
 |
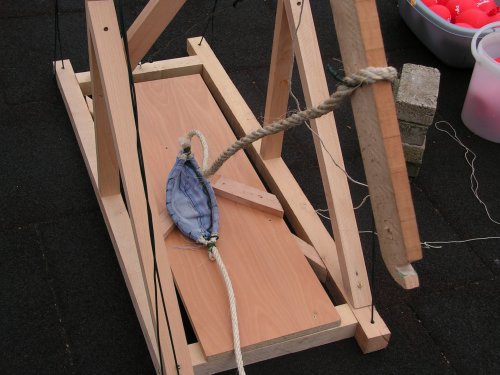
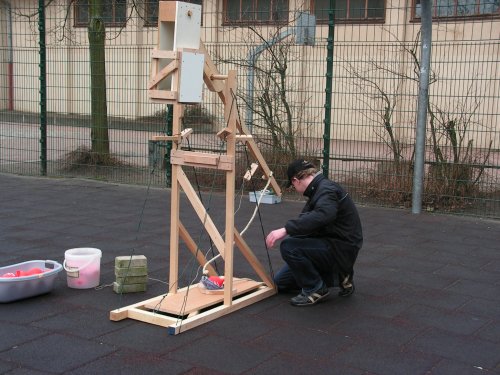
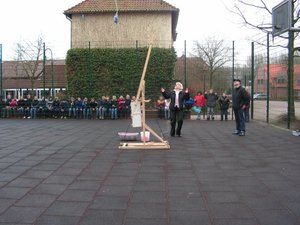
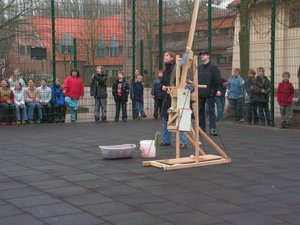
The final siege engine. The stones for the weight box lay beside the frame. I did several throws with an increasing number of stones in the box to demonstrate the effect.
|
 |
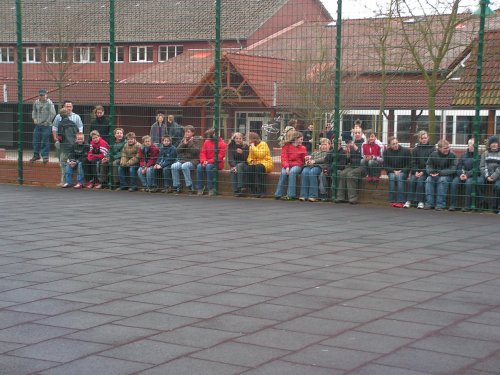
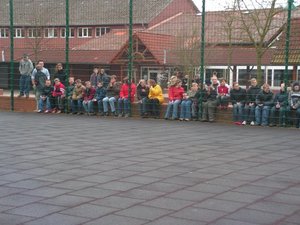
Even the longer explanations kept the pupils attentive.
|
 |
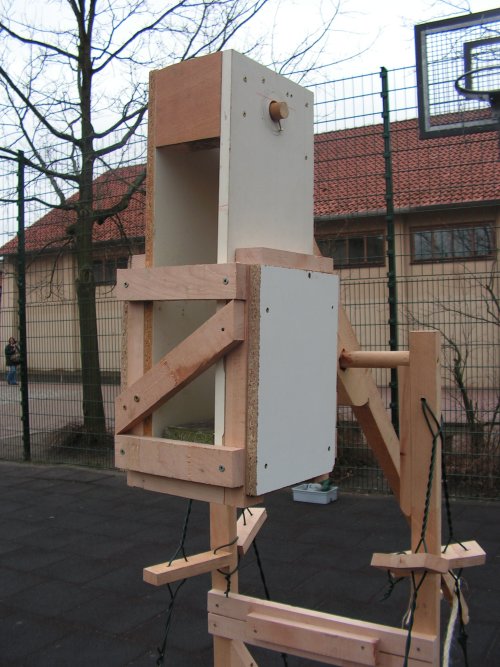
Detailed view on the weight box with a single stone at the bottom.
|
 |
The string with the cradle. The hook takes the other side of the string.
|
 |
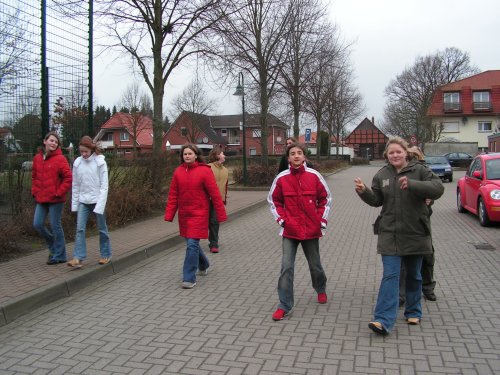
Being outside by definition...
|
 |
Even more pupils...
|
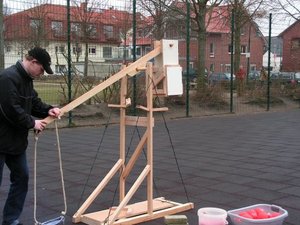 |
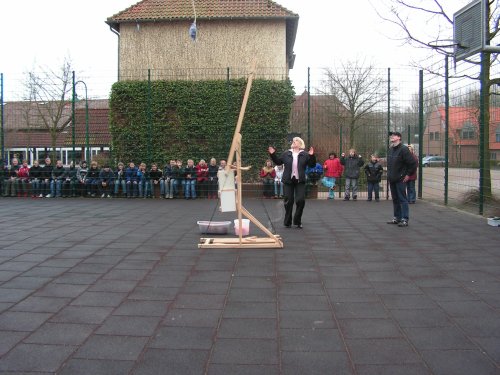
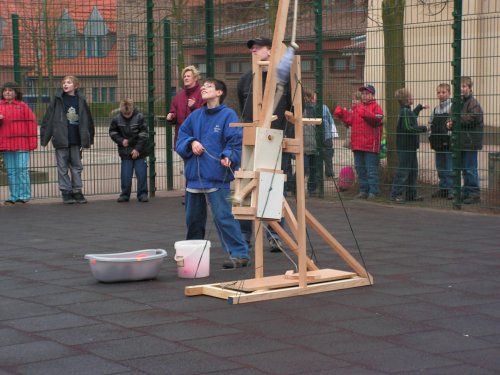
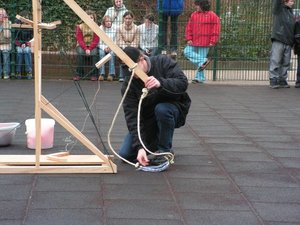
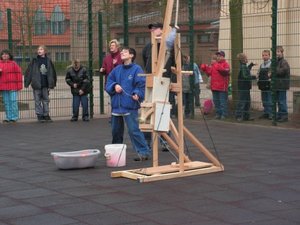
The first loading for the first shot. I pushed the lever arm down...
|
 |
... and keep the arm in place by using another string. The cradle now holds the water balloon.
|
 |
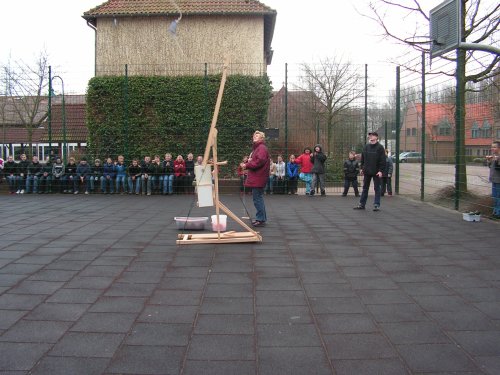
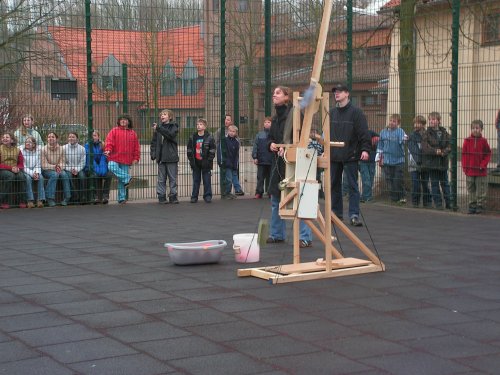
First shot! I let the pupils pull the trigger. Looks impressive...
|
 |
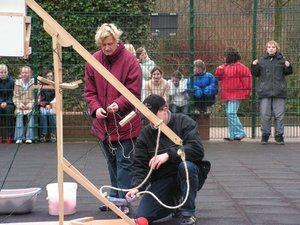
Again the preparations.
|
 |
but this time a teacher had to pull the trigger string.
|
 |
Daily distance record. This balloon hit the other side of the fenced area.
|
 |
Again a teacher. Not shown are various other pupils which released the trebuchet mechanism.
|
 |
|
 |
This teacher looked out for the target.
|
 |
Did she hit it?
|
 |
The last throw...
|
 |
... released!
|
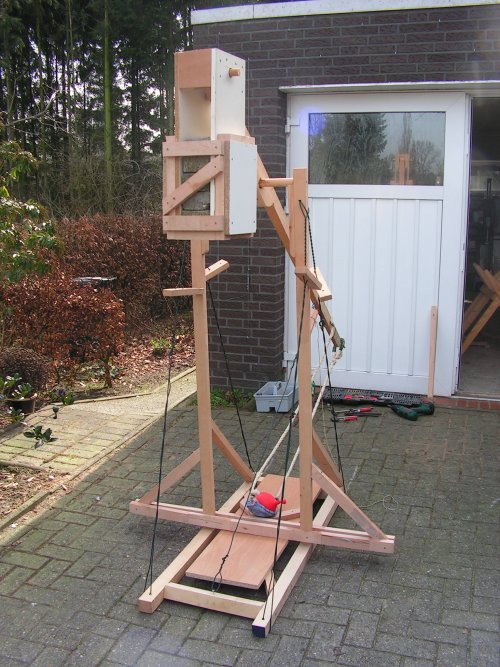
Step 4: Optimization, part 2
A few days later there was another presentation of a trebuchet in a town nearby. Very impressive. This siege engine was bigger than mine and threw a stone 80 to 90 meters away! You could see the dust explosion when the projectile hit the ground. I knew I could never reach the same distance but a few optimization issues were still to be done.
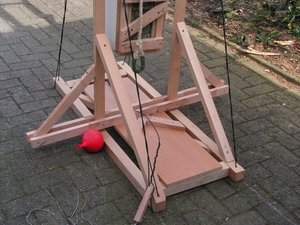 |
The most important change was the removal of the inner wood stripe such that the weight box can swing completely through. The lost stability had to be compensated.
|
 |
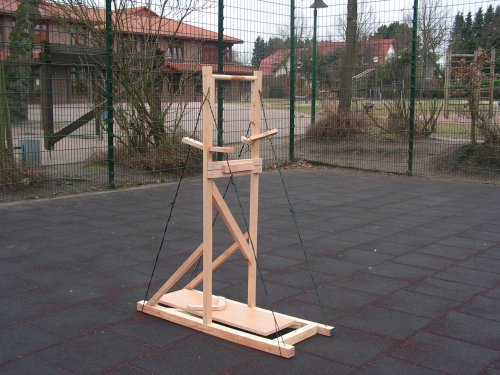
The modified trebuchet in tension.
|
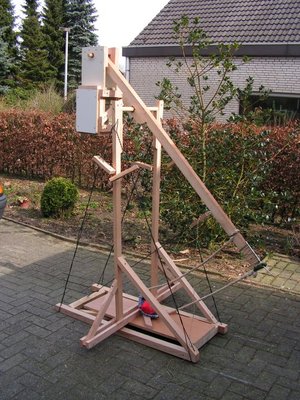 |
From the side.
|
 |
I also had to improve the hook. The old set-up with the wooden hook did not work anymore.
|
An interesting project. After a few months, the trebuchet was taken to its final destination by dismounting all wooden parts and put them into the oven for a nice fire...
Author: Christoph Hermes, published: Sat Sep 7 22:15:30 CEST 2013